Branding
Custom Branding
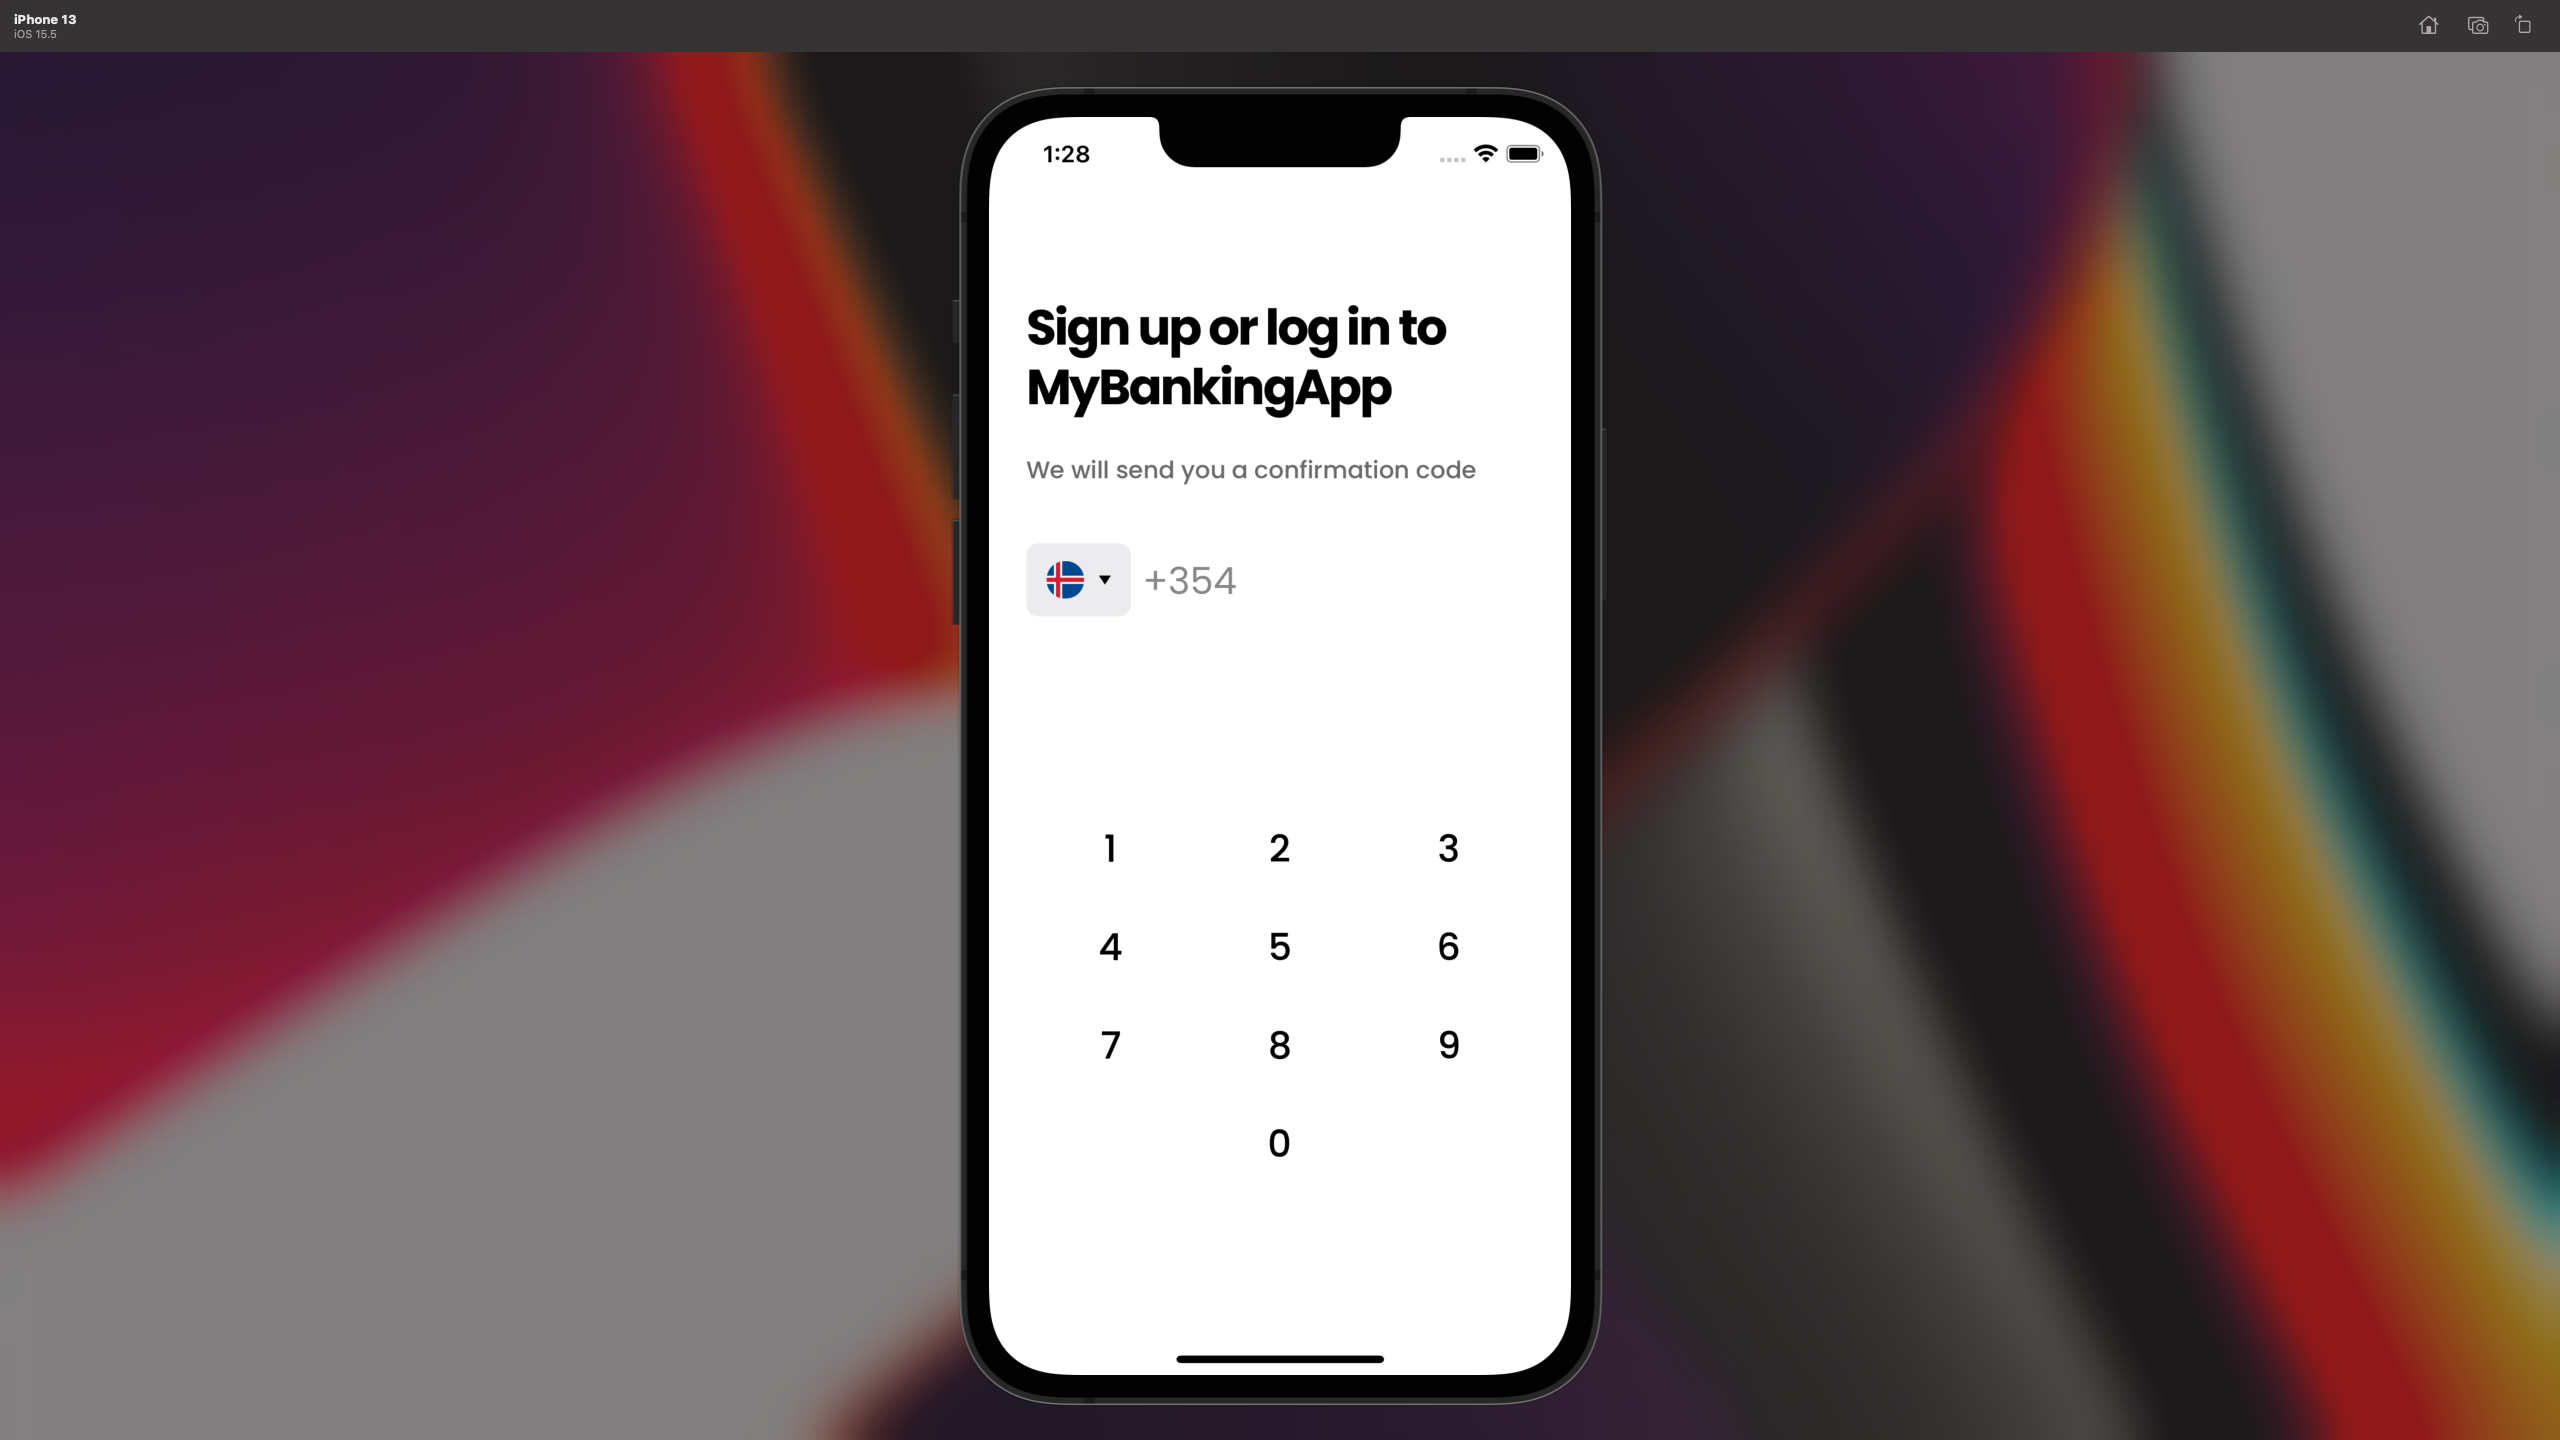
Custom Splash Screen
Icons for the splash screen shown when user opens the app.
In the generated project, there is an image component already created for this purpose in ./src/res/RImages called LOGO. Logo is an image that points to
./src/res/assets/img/logo/logo.png
You can easily customize the logo as well as
-
Replace the logo in
./src/res/assets/img/logo/logo.pngwith your custom logo. -
Change your
MementoContainerto
import { /*...*/, MementoContainer } from '@mementopayments/rn-memento-sdk';
import IMAGES from './src/res/RImages';

// ...

<MementoContainer
   config={{
      // ...
      loadingScreenBackgroundColor: '#572973',
      loadingScreenCustomLogo: IMAGES.LOGO,
      loadingScreenTime: 2000, // loading screen time in milliseconds
   }}
>
Custom Color Themes
Light and Dark Modes
Memento supports both light and dark mode with default values for each.
You can set the status dynamically with the config prop. More specifically, the activeColorTheme configuration.
activeColorTheme: 'light'; // 'dark'
To properly listen to the OS' light and dark mode settings use ReactNative's Appearance module:
import { Appearance } from 'react-native';
//...
const colorScheme = Appearance.getColorScheme();

// ...
activeColorTheme: colorScheme === 'dark' ? 'dark' : 'light';
Colors
We support editing all colors in the app with a simple configuration object for each color scheme.
For complete documentation and default values for the color theme object, see:
See the full-color theme object documentation
A very basic custom color theme
import { /*...*/, MementoContainer } from '@mementopayments/rn-memento-sdk';

// ...

<MementoContainer
    // ...
    config={{
        colorThemes: {
            light: { // color theme object for light mode
                PRIMARY: '#572973',
            },
            dark: { // color theme object for dark mode
                PRIMARY: '#572973',
            },
        },
        activeColorTheme: 'light',
    }}
>
Custom Icons
In MementoContainer config object there is a key "customAssets" with the following type spec:
export type CustomAssets = {
  authorizationIcon?: ReactNode;
  backIcon?: ReactNode;
  cardBack?: ReactNode;
  cardIcon?: ReactNode;
  clockIcon?: ReactNode;
  closeIcon?: ReactNode;
  closeIconSmall?: ReactNode;
  dashedHorizontalLine?: ReactNode;
  deleteIcon?: ReactNode;
  errorIcon?: ReactNode;
  eyeIcon?: ReactNode;
  faceId?: ReactNode;
  freezeIcon?: ReactNode;
  incomingTransactionIcon?: ReactNode;
  infoIcon?: ReactNode;
  loader?: ReactNode;
  loadingTransactionIcon?: ReactNode;
  outgoingTransactionIcon?: ReactNode;
  successIcon?: ReactNode;
  successIconSmall?: ReactNode;
  touchId?: ReactNode;

  // ...
};
To swap these icons out for your own custom component, be it icon or something else, simply put in a component for the respective config.customAsset key:
import { /*...*/, MementoContainer } from '@mementopayments/rn-memento-sdk';

// ...

<MementoContainer
    // ...
    config={{
        // ...
        customAssets: {
            deleteIcon: <Image source={require('./path/to/myIcon.png')}/>,
        }
    }}
>
For more info on images in React Native see the React Native image guide on www.reactnative.dev/docs/images.
Custom Fonts
Regarding Font Formats
-
Font files must be either in .ttf or .otf format.
-
Font file names should follow their PostScript name.
Otherwise, on iOS, your app would throw errors when you start it. To find the PostScript name, double-click the .ttf/.otf on your Mac to install the font on your computer, and open up the FontBook application to check.
Adding a Custom Font With Memento CLI
The Memento CLI easily supports adding a new custom font via a simple command from the root of your React Native project.
memento addFont --fontpath '~/Downloads/Poppins'
Ensure that the --fontPath you provide points to a non-empty folder containing some .ttf and/or .otf files that adhere to the aforementioned rules.
A folder as-is, downloaded from Google Fonts (like in this Poppins example above) should suffice.
Adding a Custom Font Manually
Manually Adding the Poppins Google font
-
Navigate to the Poppins Google Font page and download the font family.
NOTE: We don't have to change the file names because the Poppins font file names already follow the Poppins PostScript form.)
-
Create directories "assets" and subsequently "assets/fonts" from the root of your project by running
mkdir -p assets/fonts. -
Move all the font files (e.g.
Poppins-Regular.ttfetc.) to theassets/fontsdirectory. For Google fonts, there will be a lot of font files, be sure to include all the fonts:Poppins-SemiBold.ttf,Poppins-Bold.ttf, etc. in your project. -
If not already created, create a config file at the root of the project named
react-native.config.js. Proceed by adding the following code inside module.exports:module.exports = { project: { ios: {}, android: {}, }, assets: ['./assets/fonts/'], }; -
Almost there, the next thing we do is to just run this command from the root of our project:
For react-native versions 0.69 and above:
npx react-native-assetsFor lower versions:
npx react-native link
Using the Custom Font
import { /*...*/, MementoContainer } from '@mementopayments/rn-memento-sdk';

// ...

<MementoContainer
  // ...
  config={{
    font: 'Poppins',
  }}
>
  {/* ... */}
</MementoContainer>
Nicely done! 👏 Poppins is now set as the app font
Updated about 2 years ago